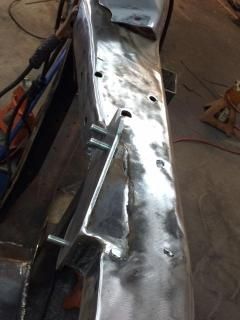
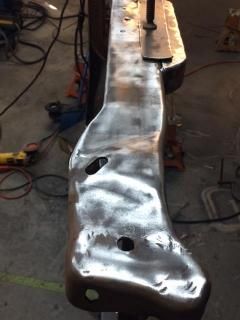
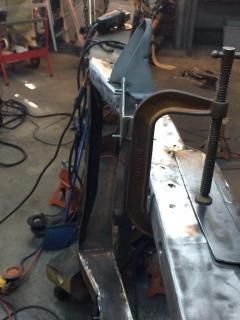
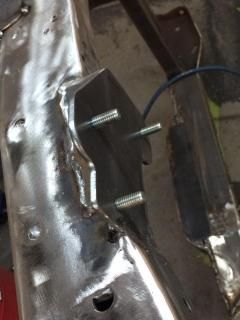
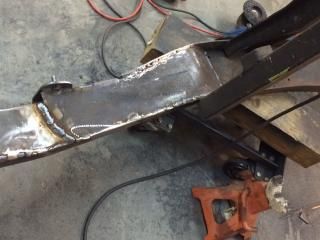
What I've done is taken 2x4 x 3/16wall rectangular tubing and formed it to fit inside the upper portion of the front frame rails from the middle of the cab mount area to 14 inches forward of axle centerline, since the existing frame rail was 6.5" and I used 4" tall tubing it yields a 1.5" drop,plus the tubing more than doubles the strength of the front section.
heres pass side with formed tubing insert welded in place and lower rail trimmed up to cab mount.
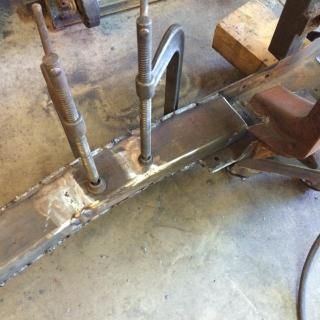
forward portion ,front bumper horn visible, trimmed to meet the new tubing to existing rail height, plus the 2x2 tube is to keep rails from twisting while fabbing.
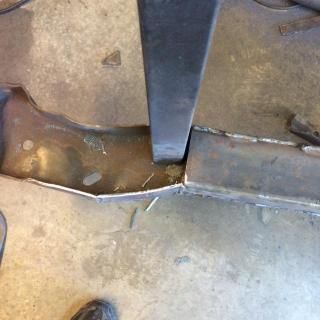
bottom side of drivers rail after fabbing.
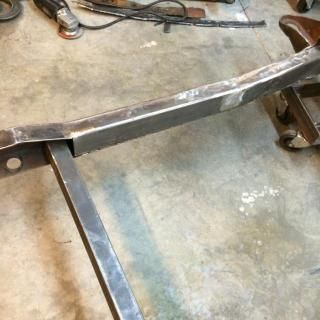
more bottom views, left the center crossmember to help keep frame from twisting.

Bottom side view squaring up and leveling , I always transfer the axle centerline and wheelbase to the floor and transfer back up to the frame so I always have a place to reference back to.
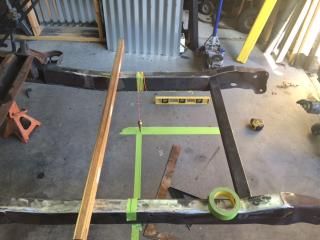
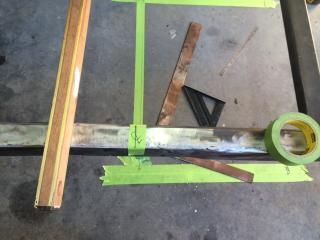
this is the upper caps being fabbed to meet up to the upper crossmember mounts, I didnt take pics of the underside of these but I installed the 6.5" sleeves into the rails(PITA)and added 3/16 x 2" tall plate that connects both tubes together and also ties them to the top of the rails, then added the three pieces to make everything more pleasing to look at.
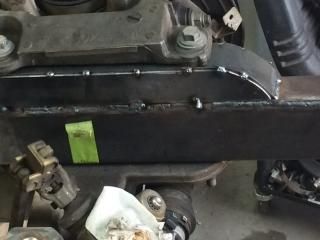
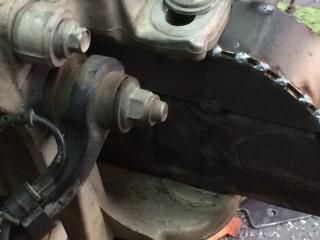
this is the lower frame rail trimed(pie cut) from under the cab mounts to just forward of trans crossmember, it is now welded up and the lower frame rail flows smoothly from the trans crossmember upward to the bottom of the 2x3 tubing then back down to meet up with the front frame horns.
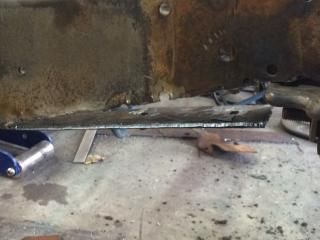
my new toy cutting the rear lower a-arm mounting plates and a new frame mount battery tray I designed.


I'll post more pics when I get time
;


