Crown vic front swap with a twist

Suspension, steering, brakes, wheels & tires

Moderator: FORDification

Post Reply
User avatar
texrodder
New Member
New Member
Posts: 235
Joined: Sat Jul 21, 2007 3:46 pm
Location: Texas, DFW
Contact:

Crown vic front swap with a twist

Post by texrodder »

Currently doing another cvic swap but this time Im building in 1 1/2 drop by "Z"ing the frame, just posting the progress in case anyone else is interested in this setup.
What I've done is taken 2x4 x 3/16wall rectangular tubing and formed it to fit inside the upper portion of the front frame rails from the middle of the cab mount area to 14 inches forward of axle centerline, since the existing frame rail was 6.5" and I used 4" tall tubing it yields a 1.5" drop,plus the tubing more than doubles the strength of the front section.
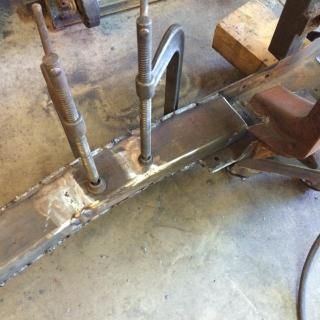
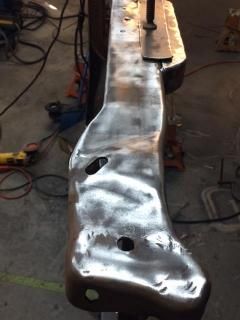
heres pass side with formed tubing insert welded in place and lower rail trimmed up to cab mount.Image

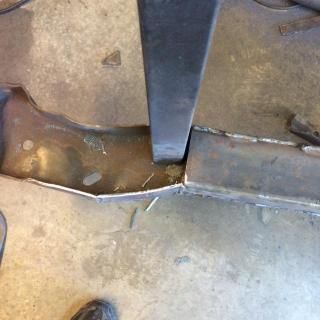
forward portion ,front bumper horn visible, trimmed to meet the new tubing to existing rail height, plus the 2x2 tube is to keep rails from twisting while fabbing.
Image

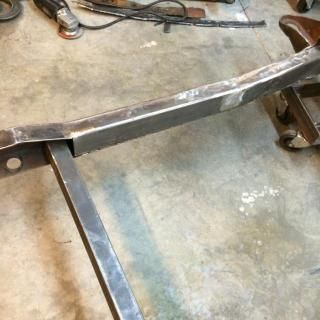
bottom side of drivers rail after fabbing.
Image

more bottom views, left the center crossmember to help keep frame from twisting.Image

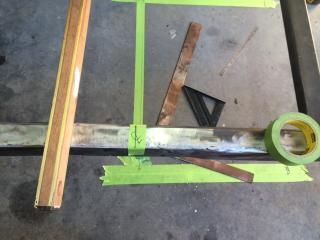
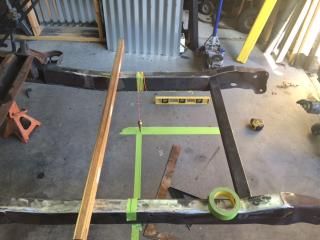
Bottom side view squaring up and leveling , I always transfer the axle centerline and wheelbase to the floor and transfer back up to the frame so I always have a place to reference back to.
ImageImage


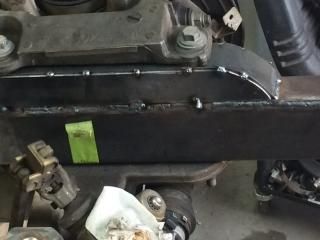
this is the upper caps being fabbed to meet up to the upper crossmember mounts, I didnt take pics of the underside of these but I installed the 6.5" sleeves into the rails(PITA)and added 3/16 x 2" tall plate that connects both tubes together and also ties them to the top of the rails, then added the three pieces to make everything more pleasing to look at.
ImageImage

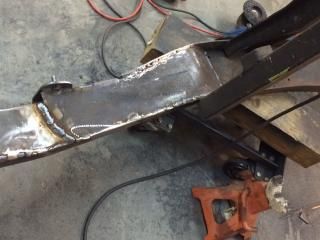
this is the lower frame rail trimed(pie cut) from under the cab mounts to just forward of trans crossmember, it is now welded up and the lower frame rail flows smoothly from the trans crossmember upward to the bottom of the 2x3 tubing then back down to meet up with the front frame horns.
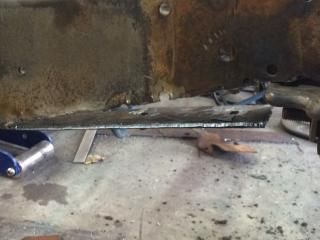
Image

my new toy cutting the rear lower a-arm mounting plates and a new frame mount battery tray I designed.

Image

Image

I'll post more pics when I get time


;
Last edited by texrodder on Sat Dec 27, 2014 10:45 pm, edited 2 times in total.
crazyhorse
100% FORDified!
100% FORDified!
Posts: 1514
Joined: Sun Jan 27, 2008 9:24 pm

Re: Crown vic front swap with a twist

Post by crazyhorse »

Mr Tex thank you for posting the good pictures. :thup:

Looks like you are doing a good job. :thup:
User avatar
jimmy828
100% FORDified!
100% FORDified!
Posts: 1611
Joined: Thu Dec 23, 2010 6:47 pm
Location: asheville,NC

Re: Crown vic front swap with a twist

Post by jimmy828 »

Nice toy too! :thup:
User avatar
texrodder
New Member
New Member
Posts: 235
Joined: Sat Jul 21, 2007 3:46 pm
Location: Texas, DFW
Contact:

Re: Crown vic front swap with a twist

Post by texrodder »

This is how the rear of the frame notch looks with the pie cut lower frame welded up and the lower a-arm mounting plate installed
Image

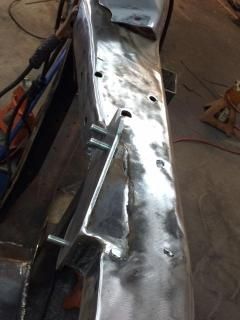
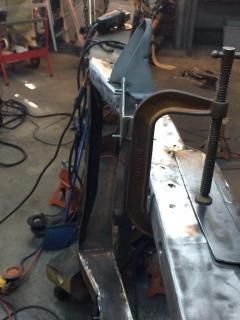
view looking down pass frame rail from bumper horn back, small fish plate clamped down is to tie the frame rail to the bumpouts on top of the rails where the upper crossmember bolts down,
Image

another pass side view with cab mount mocked back in place.
Image

another pass side view
Image

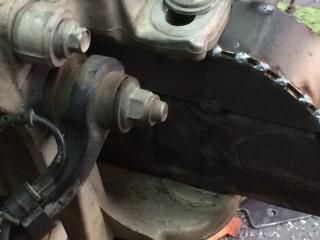
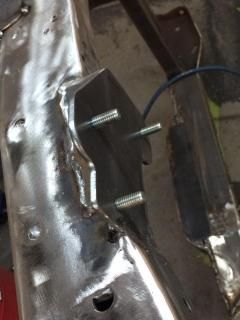
rear mount for lower a-arm-
Image

drivers side boxing plate, it does 3 things, it reinforces the pie cut frame section under the cab mount, it ties the 2x4 tubing to the rest of the frame, and its part of the support for the lower a-arm mounting plates. This front frame section is twice as strong as the factory setup now but it was a pita.
Image
Post Reply